
How to Repair a Rotted Sill Plate Safely
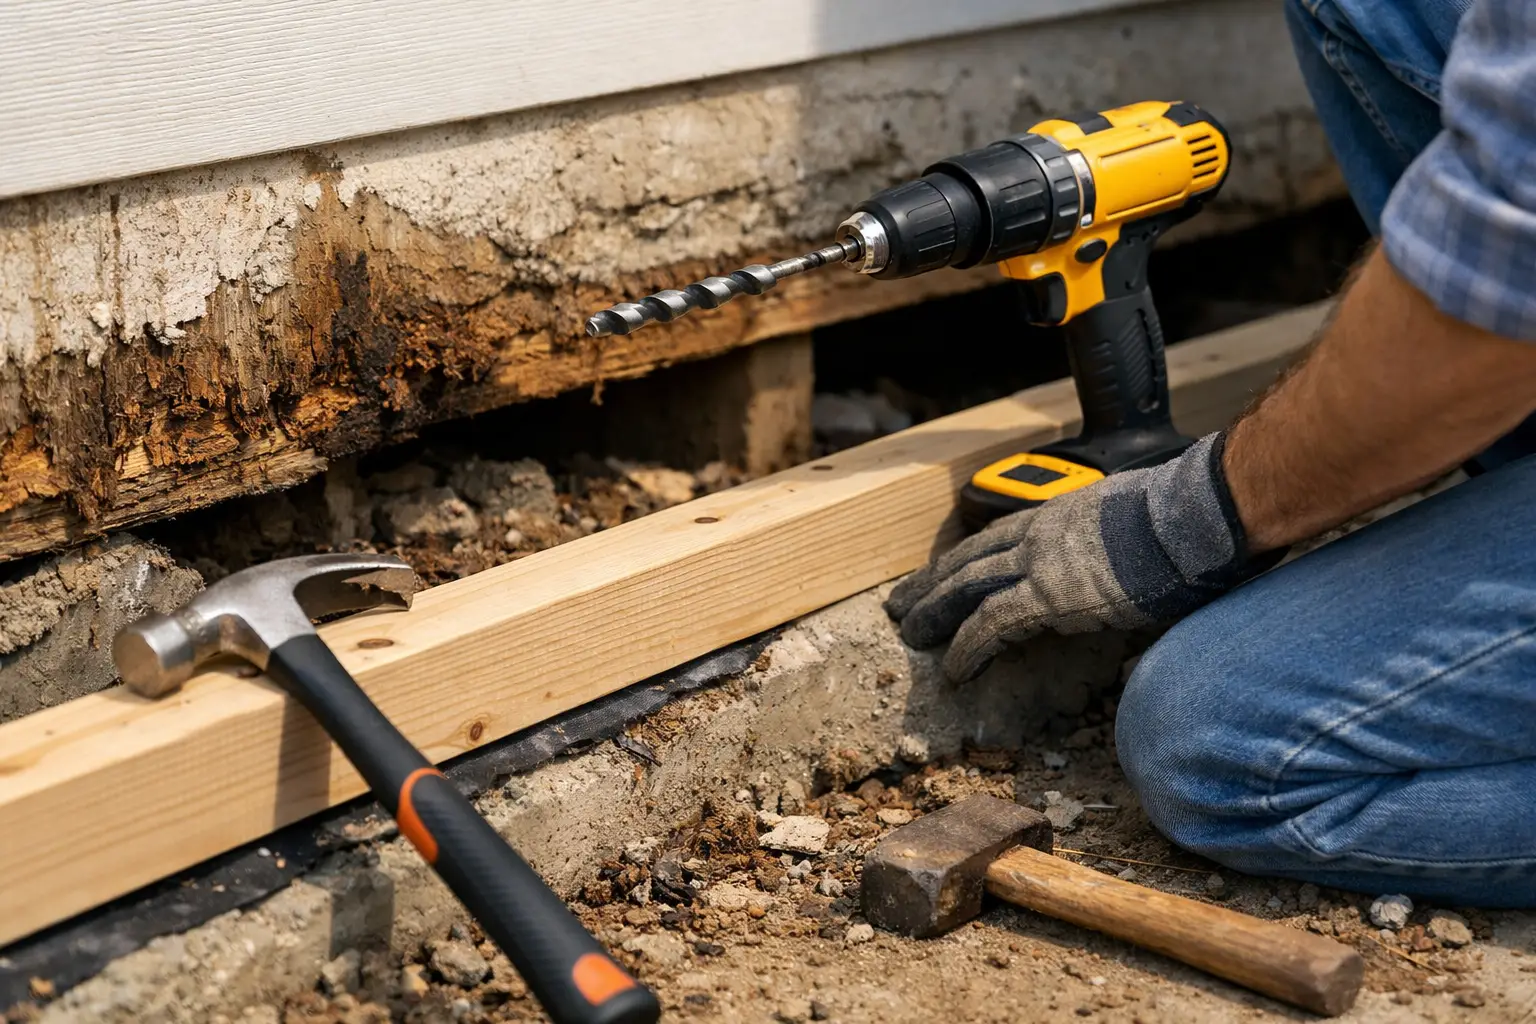
A soft spot at the bottom of an exterior wall can be more than a siding issue. When moisture reaches the wood framing behind the finish materials, it can rot the sill plate that carries the wall above it. Knowing how to repair rotted sill plate damage starts with understanding the cause, safely supporting the structure, and repairing the entire water-management problem – not just replacing bad wood.
For Greater Boston homeowners, sill plate rot commonly appears near old decks, failing flashing, clogged gutters, aging siding, low-grade landscaping, and areas where snow and wind-driven rain repeatedly soak the wall. The visible damage may be limited, but the concealed repair can extend farther than expected.
What a sill plate does and why rot matters
The sill plate is the horizontal piece of pressure-treated lumber at the base of an exterior framed wall. It sits on top of the foundation and provides a fastening point for wall studs. Depending on the home’s construction, it may also work with a rim joist and floor framing system to transfer loads down to the foundation.
When this area rots, the concern is structural as well as cosmetic. Studs can lose solid bearing, exterior walls can settle, doors and windows may bind, and water can continue into framing and interior finishes. A localized repair is often manageable when caught early. Extensive decay, however, may require temporary shoring, replacement of studs and rim framing, and a more involved rebuilding of the wall section.
Signs you may have a rotted sill plate
Sill plate damage is often hidden behind siding, trim, or deck framing. A careful exterior inspection can reveal warning signs before the problem grows. Look for soft or crumbling wood at the bottom of the wall, siding that looks warped or pulled away, persistent staining, insect activity, or a musty smell inside near the affected area.
Other clues include:
- A deck ledger or exterior trim board that feels loose
- Cracked caulk or open joints where siding meets a roof, porch, or deck
- Water marks or peeling paint on interior baseboards
- A window or door near the area that has become difficult to operate
A screwdriver test can help identify soft wood in exposed trim, but it cannot tell you how far decay has traveled behind the wall. Removing a small, controlled section of siding is often the only way to define the repair properly.
Find and correct the water source first
Replacing a sill plate without correcting the moisture path is a short-term repair. Before framing work begins, determine exactly how water reached the structure. A contractor should inspect the roof edge, gutters and downspouts, wall flashing, siding transitions, window details, deck connections, and the grade around the foundation.
Common causes include missing kick-out flashing where a roof meets a wall, siding installed too close to roof shingles or soil, a deck ledger fastened over improper flashing, and downspouts that discharge beside the foundation. On older homes, layers of previous repairs can trap water behind trim and create a hidden rot pocket.
The proper fix may include new flashing, corrected siding clearances, gutter improvements, grade adjustments, or a rebuilt deck connection. This is the step that protects the investment in new framing.
How to repair rotted sill plate: the right sequence
The exact method depends on whether the damaged wall is load-bearing, how much framing is affected, and whether the work is at the first floor, a raised deck area, or another structural transition. Small isolated sections may be repaired with a carefully designed partial replacement. Widespread damage generally calls for a full section replacement.
Expose and assess the wall assembly
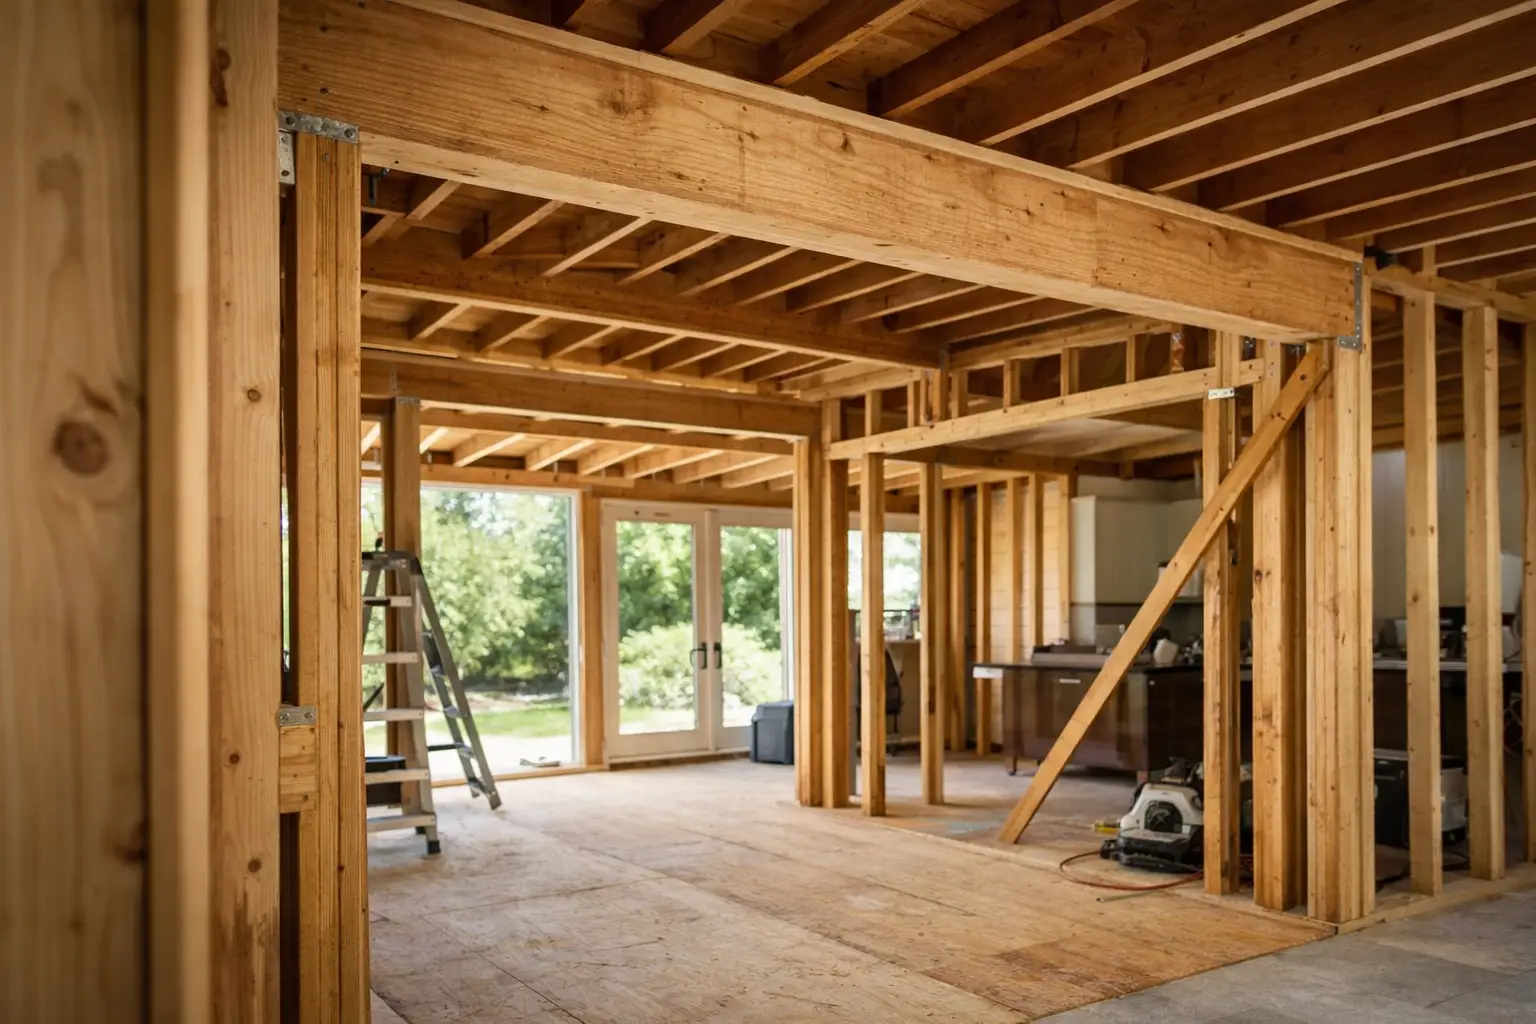
The repair begins by removing siding, trim, sheathing, insulation, and any other materials that prevent a clear view of the framing. The crew should expose sound wood on both sides of the damaged area, not stop at the first visible rot.
At this stage, inspect the sill plate, wall studs, bottom portions of sheathing, rim joist, subfloor edge, and deck ledger if present. A sound repair scope identifies which components can remain and which must be replaced. Simply covering deteriorated material with new trim is not an acceptable structural repair.
Support the load before removing framing
If the wall carries roof, floor, or ceiling loads, it must be supported before the sill plate or compromised studs are removed. This commonly involves building a temporary support wall inside the home or using engineered shoring methods appropriate to the framing layout.
This is where a homeowner should be cautious about a do-it-yourself approach. Improper temporary support can cause movement, cracked finishes, damaged utilities, or a serious safety hazard. In some cases, a structural engineer should review the repair, especially where substantial framing has deteriorated or a deck, beam, or concentrated roof load connects at the affected wall.
Remove all decayed material and rebuild with compatible lumber
Once the load is safely supported, the damaged sill plate is cut out back to sound wood. Any rotten studs, sheathing, rim framing, or subfloor edges are also removed and replaced as needed. New pressure-treated sill material is typically installed against masonry, with appropriate anchors and a sill gasket or moisture break where required.
Replacement studs must be properly sized, aligned, and securely connected to restore the original load path. Framing repairs should use suitable fasteners and connectors for treated lumber and the specific structural condition. If a deck ledger attaches in the area, it needs correct flashing and code-compliant fastening rather than a surface-level patch.
Restore weather protection from the framing outward
After the framing is complete, the wall must be rebuilt as a weather-resistant assembly. This generally means replacing sheathing where necessary, installing a compatible water-resistive barrier, integrating flashing correctly, and reinstalling siding and trim with proper clearances.
The finished exterior should shed water outward at every transition. Details matter here: flashing must lap in the right direction, siding must not wick moisture from roofing or soil, and trim joints must be properly sealed while still allowing the wall to drain. Clean finish work is valuable, but it only lasts when the layers behind it are correctly installed.
When a repair needs permits or professional review
Massachusetts permit requirements can vary by community and by the scope of the work. Replacing nonstructural exterior trim is different from removing load-bearing framing, rebuilding a wall section, or altering a deck connection. Structural repairs may require a building permit, and larger or unusual conditions may require engineered documentation.
A licensed, insured residential contractor can help define the scope before construction begins, coordinate permit-related requirements when needed, and identify issues that are not apparent from the exterior. This also creates a clearer plan for scheduling, materials, temporary protection, and final inspection.
For homeowners, the value is not only in replacing wood. It is in having one accountable team trace the leak, stabilize the structure, complete the framing correctly, and restore the exterior with a clean, durable finish.
Can you repair only part of a sill plate?
Yes, a partial sill plate repair can be appropriate when decay is confined to a short section and adjacent framing is sound. The replacement must extend into solid material and maintain proper support and connections. Whether this is practical depends on the wall load, access, foundation condition, and the presence of nearby openings, decks, or mechanical systems.
A full-length replacement is not automatically necessary, but neither is a small patch always enough. The right answer comes from opening the wall and evaluating the actual condition rather than guessing from surface damage.
If you suspect rot at the base of an exterior wall, address it before another season of rain, snow, and freeze-thaw cycles expands the damage. A clear site assessment and a properly planned repair can turn a concerning structural issue into a durable, finished result that protects the home for years to come.