
A Realistic Kitchen Remodeling Project Timeline

A kitchen remodel is easier to live with when the schedule is clear before demolition begins. A realistic kitchen remodeling project timeline accounts for design decisions, material lead times, permit review, trade coordination, inspections, and the unexpected conditions that can appear once walls or floors are opened.
For many Greater Boston homeowners, the construction phase takes six to 12 weeks. The full process, from the first estimate through final walkthrough, often takes three to six months. A modest layout-preserving update may move faster, while a kitchen involving structural changes, a new addition, custom cabinetry, or utility relocation can take longer.
What Determines a Kitchen Remodeling Project Timeline?
The size of the room matters, but the scope matters more. Keeping appliances, plumbing, and electrical service in their existing locations generally reduces cost and scheduling complexity. Moving a sink across the room, adding a gas line, opening a load-bearing wall, or upgrading an older electrical panel introduces additional planning, permits, inspections, and skilled trade work.
Material selection also drives the schedule. Stock cabinets may be available quickly, while semi-custom or custom cabinets can require several weeks or months of lead time. Countertops cannot be fabricated until base cabinets are installed and measured, so even readily available stone or quartz adds a necessary step after cabinet installation.
Older Massachusetts homes deserve extra attention during planning. Uneven floors, outdated wiring, concealed water damage, and framing that does not meet current code are not unusual. A responsible contractor builds reasonable contingency into the schedule rather than promising a completion date that leaves no room for real construction conditions.
Phase 1: Estimate, Scope, and Planning
A well-run project starts with a site visit and a clear discussion of how you use the kitchen. This is the time to identify priorities: more storage, better lighting, improved traffic flow, a larger island, upgraded appliances, or a layout that works better for family gatherings.
During the estimate and scoping stage, the contractor evaluates existing conditions, discusses the work required, and identifies early concerns such as structural walls, plumbing changes, ventilation needs, or likely permit requirements. For straightforward projects, this phase may take one to three weeks. More involved remodels can take longer while plans, pricing, and selections are refined.
Homeowners can help keep this stage moving by making major decisions early. Cabinet style, appliance sizes, countertop material, flooring, and fixture locations all affect the final scope. Ordering appliances after cabinets have been designed around different dimensions can create avoidable revisions.
Phase 2: Design, Selections, and Permits
Once the scope is defined, the next task is turning it into a buildable plan. A kitchen that changes walls, plumbing, electrical systems, or structural framing may require drawings and engineering. Permit requirements vary by municipality, so the timeline in Newton, Natick, Framingham, Wellesley, or another Greater Boston community can differ.
Permit review can take anywhere from a few days to several weeks, depending on the project and local building department workload. Permit timing is not always fully within a contractor’s control, but complete documentation and early submission help prevent unnecessary delays. Licensed, insured contractors should also plan the work around required inspections rather than treating them as an afterthought.
This is also the right time to finalize materials. Cabinets are often the longest-lead item, followed by specialty appliances, custom windows, tile, and certain lighting fixtures. Ordering these items before demolition protects the construction schedule. Starting work without confirmed delivery dates can leave an open kitchen waiting on one critical component.
For a typical remodel, allow four to 12 weeks for design, selections, permits, and material ordering. A simple cosmetic renovation may need less time. A kitchen with custom cabinetry, engineered structural work, or substantial layout changes may require more.
Phase 3: Pre-Construction Preparation
Before work begins, your contractor should provide a clear start plan: what areas need to be cleared, where materials will be stored, how workers will access the home, and how dust and debris will be managed. For an occupied home, this preparation makes a major difference.
Most homeowners set up a temporary kitchen in another room with a microwave, coffee maker, refrigerator access, and disposable or easy-to-wash dishes. It is not glamorous, but it reduces daily frustration during the project. If your household includes young children, pets, or anyone working from home, discuss noise, work hours, and safety boundaries before the crew arrives.
Pre-construction is also when the contractor confirms deliveries, trade schedules, and inspection windows. A dependable schedule does not mean every day follows a perfect script. It means the work is organized, the homeowner receives direct communication, and adjustments are explained promptly when conditions change.
Phase 4: Demolition, Framing, and Rough Work
Demolition usually begins the on-site phase. Depending on the kitchen size and the amount being removed, it may take several days to a week. After the existing cabinets, finishes, and selected walls are removed, the team can see the actual condition of framing, insulation, plumbing, and wiring.
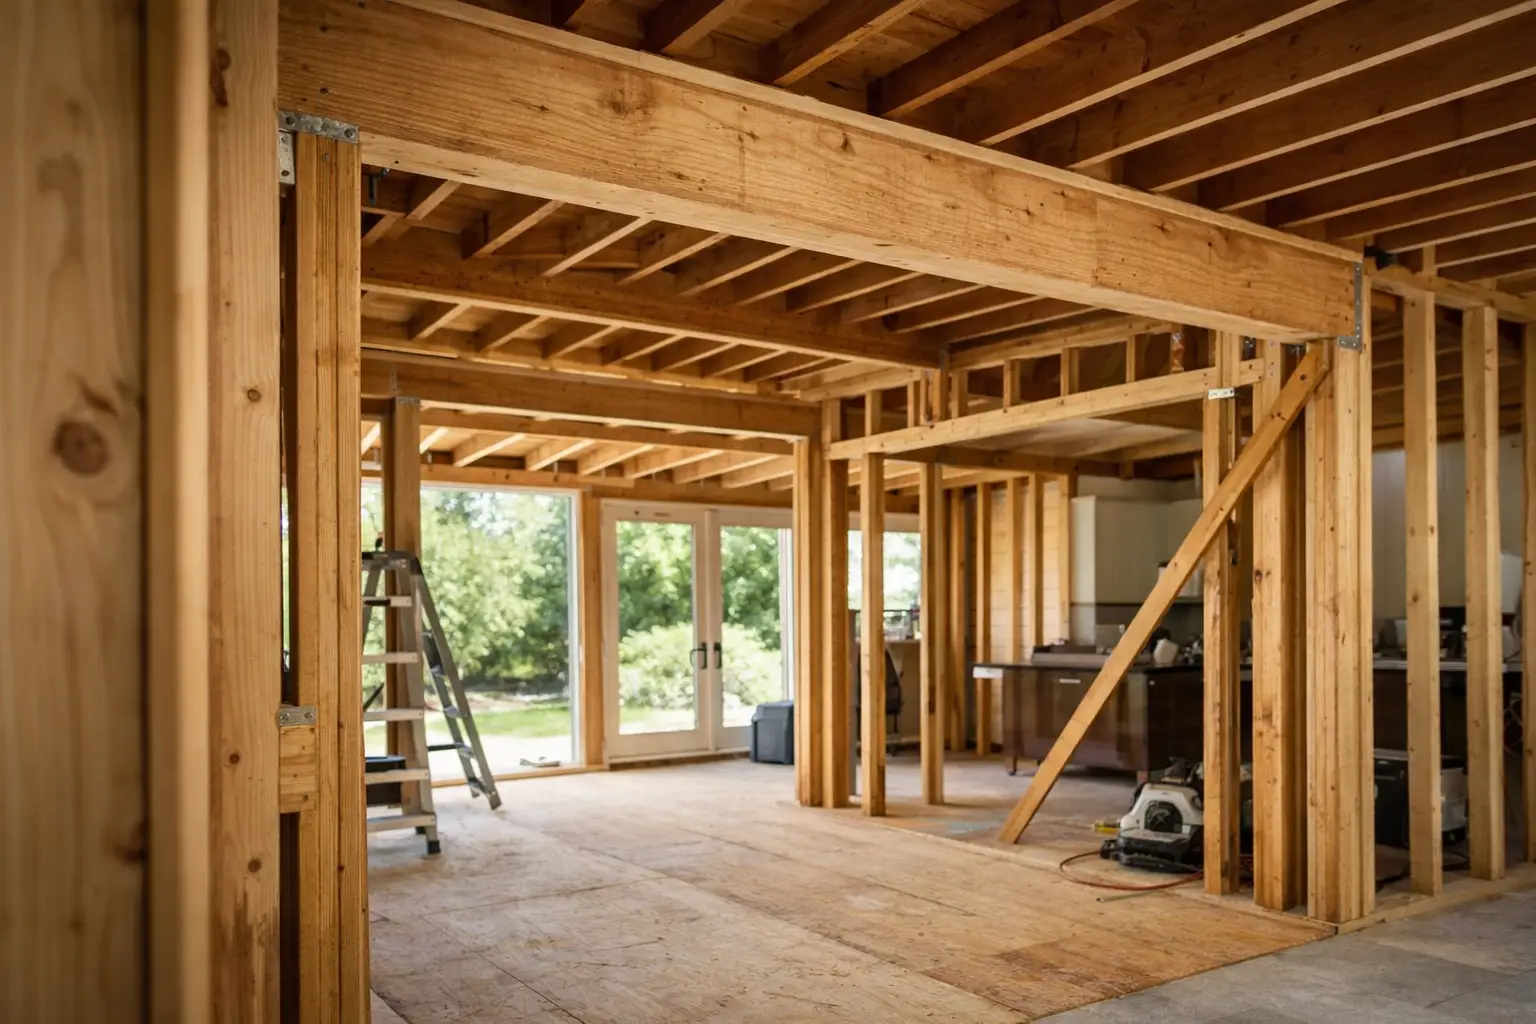
If the plan includes opening a wall or altering the layout, structural carpentry comes next. This can involve new headers, framing changes, floor repairs, or preparation for windows and doors. Structural work must be completed correctly and in accordance with applicable building codes before finishes cover it.
Then come the rough trades: plumbing, electrical, HVAC, and ventilation. New outlets, lighting locations, appliance circuits, water lines, drain lines, and range hood ducting are installed before walls are closed. Rough inspections may be required at this point.
This phase often takes two to four weeks, depending on the amount of work and inspection timing. It can feel slow because the room may look more unfinished before it starts to look better. That is normal. The work behind the walls is what supports a safe, durable kitchen.
Phase 5: Walls, Cabinets, and Countertop Templating
Once rough work passes inspection, insulation and drywall can be installed, finished, and painted. Flooring may be installed before or after cabinets depending on the material, cabinet design, and project plan. There is no single right sequence for every kitchen, but the order should protect finished surfaces and support proper installation.
Cabinet installation is a key milestone. Cabinets must be level, plumb, securely fastened, and correctly aligned before countertop measurements are taken. In older homes, this may require careful adjustments because walls and floors are rarely perfectly straight.
After cabinets are installed, the countertop supplier templates the space. Fabrication commonly takes one to three weeks, depending on the material and shop schedule. During that period, tile work, finish carpentry, painting, and other tasks can continue where possible. Good coordination keeps the project moving without rushing work that needs precision.
Phase 6: Finish Work and Final Inspections
After countertops are installed, the kitchen begins to come together quickly. Plumbers connect sinks, faucets, disposals, and dishwashers. Electricians install fixtures, switches, outlets, and appliance connections. Backsplash tile, cabinet hardware, trim, touch-up painting, and final appliance placement follow.
This last portion can take one to three weeks. Small details often take more time than homeowners expect, especially when several trades return for final connections. The goal is not simply to make the kitchen look finished. It is to make sure doors operate properly, trim is clean, fixtures work, surfaces are protected, and required final inspections are completed.
How to Keep Your Project on Schedule
Homeowners do not need to manage the job site, but timely decisions make a meaningful difference. Approve selections before ordering deadlines, communicate changes as early as possible, and avoid changing the layout after rough work begins. A late change can affect materials, labor, permits, inspections, and the work already completed.
It also helps to set expectations around change orders. Some changes are necessary when hidden conditions are discovered. Others are homeowner-requested upgrades. In either case, a clear written discussion of cost and schedule impact protects everyone from surprises.
The best kitchen remodel schedule is not the shortest one on paper. It is the one built around complete planning, realistic lead times, qualified trade coordination, code-compliant work, and a final walkthrough that confirms the details are right. If you are considering a kitchen renovation, start with a detailed scope and an honest conversation about your home, your priorities, and the timeline needed to build it well.